
We learned about soapstone via a whisper of information available online by searching DIY soapstone. We read that it was a high quality material that regular, ambitious people could perhaps cut and install themselves, to save some dough. We also liked the look of the material, the fact that it is matte & natural stone.
So, we began to look for a place locally who would sell us the stone. The distributors who have the huge warehouses of stone do not sell to the public, and for good reason, as the stone is so heavy we could not move or transport it without heavy equipment. SO then we started to realize that we needed someone to cut the stone to the rought sizes for us, and we would do the finishing and the installation. We found a place via an ad in the phonebook, and we went out to look at thier showroom. They tried to sell us the one piece of soapstone they had, and told us that was the only kind available (the piece they had in stock had HUGE variations in it). They then referred us to the stone distributor, where we could go and pick our our very own slab.
Meanwhile, we learned that our friend knew someone who owned a stone countertop fabricator. Score! Distinctive Stone Interiors in St. Paul, MN gave us a quote, which was very reasonable. We ended up paying about $50/square foot for the stone, and to have them cut the pieces to the right size, but not install or finish sand them. The installed price is between $80-$120. The other quote we got locally was for $75/sq foot, for the stone and to have them cut the pieces to size, not installed. We were about ready to go with M Teixeira Soapstone, who will ship the stone to you, for a hefty shipping fee of $500. This would be a good option if you can't find anyone locally to sell you the stone cut, but not installed.
So, on Saturday, Chad when and picked up the countertops from the stone place. They even built a little carrying thing so he could pick it up in his truck:

Each of the pieces needed to be sanded -- both on the top and on the edges. Apparently the factory finish that comes on the stone is not good enough. The stone people lent Chad the tools to do the sanding (a wet sander), here is him sanding:

Two of the six pieces took about two hours to sand.

Keeping some water on there really helped to get the finish smooth:

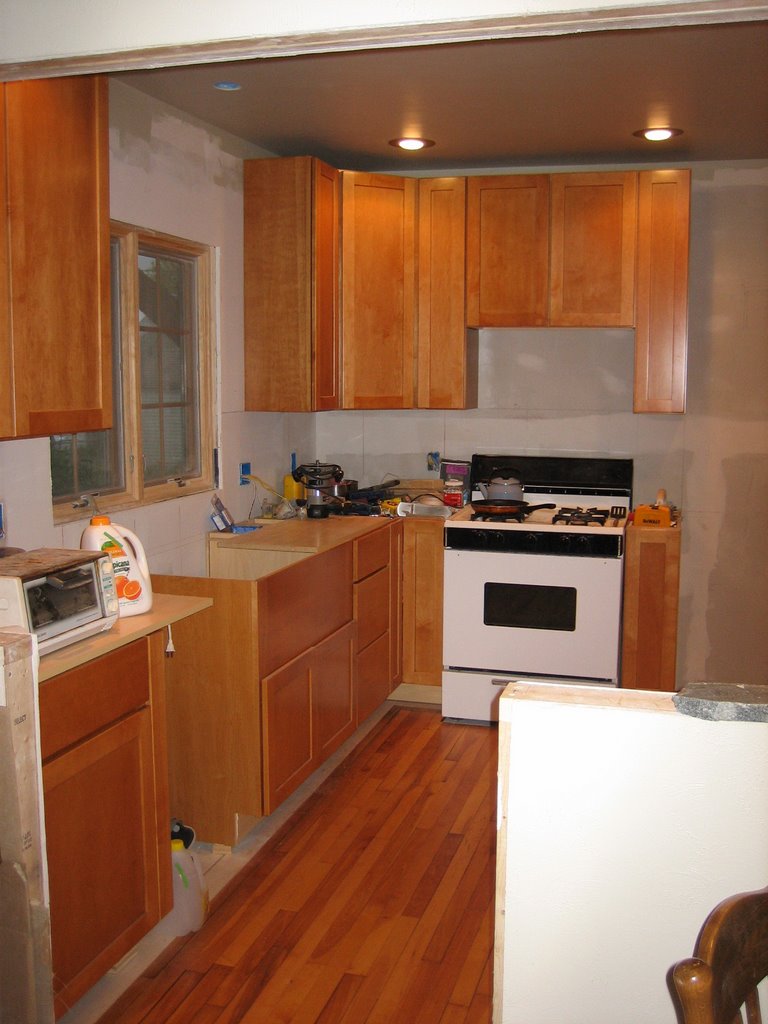
Taa-daa! Here is the first of the countertops. The counters just get glued on with silicone epoxy. I added some mineral oil to give the stone the dark finish.

This piece had a little more variation that I originally wanted, but I think I will learn to like it.
Here is the second piece that we installed: 
I love the soapstone, it really makes the kitchen look great. We are getting very close to finishing.


 We also had our new fridge delivered on Saturday. Here it is, we need to clean the front with some goo-be-gone:


